Coffee Table --Two Steps Forward
For the last couple of days, I’d hit a mental bump in the road to building my coffee table. Having decided to create a modified trestle base for the table I got sidetracked by all the ways that could be done. My vision was a cantilevered effort that would leave a long open stretch under the table, with the visible base construction under the wide section of the tabletop.
I was concerned that the suspended end of the table would flex downward with weight or pressure. Would the cantilevered design be robust enough to support the length of the tabletop?

Ripping the tabletop long edge.
Ordinarily when I have these types of questions, I like to build a mock-up ... and I still might end up doing that here. But first it seemed best to cut the tabletop to its final size and prepare some of the cherry lumber (with the limitations of my tiny shop) to get an accurate idea of what I will be working with.

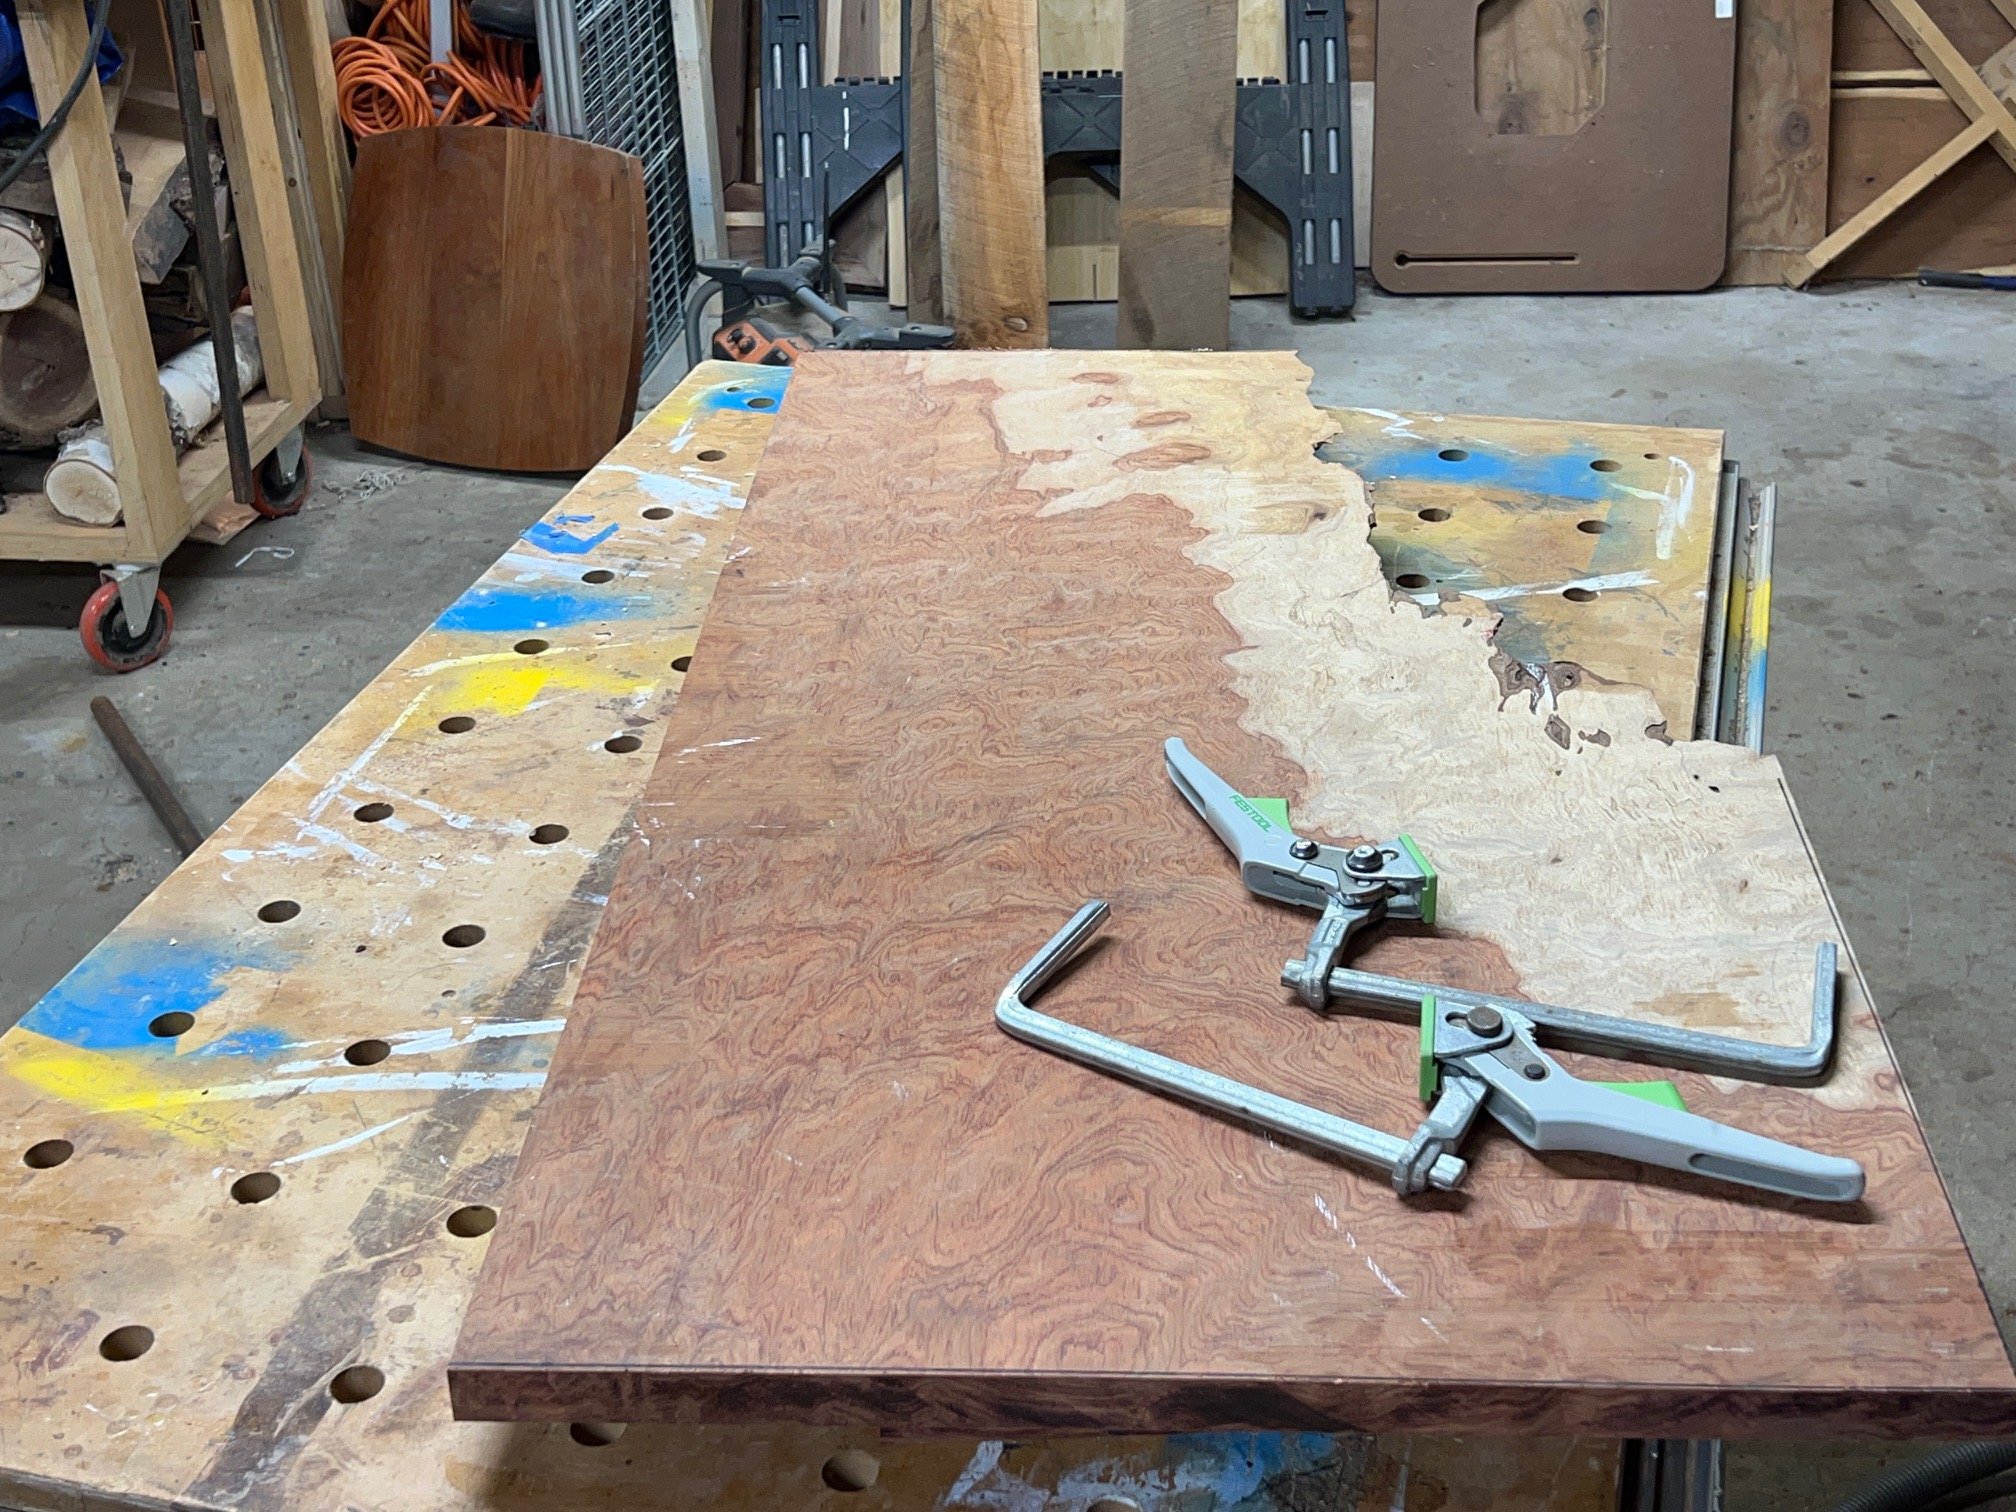
Cutting the wide edge of the tabletop.
I had already removed the curve in the top (most of the curve, I will deal with the remaining flex with the trestle superstructure). Looking at the large bubinga board, I laid out the shape I desired. First, I cut the back edge dead straight using my track saw. The Festool system was perfect for this task. From that edge I struck a 90-degree line to create the wide end of the table.
This end of the table was wider than I wanted it to be, plus I liked the idea of having a squared-up edge run into the live-edge, adding a bit of drama. (See the lead image above.) With that done I cut the narrow end square, and the tabletop was at its final dimensions of 21” wide by 40” long.

Setting up to cut a square and straight edge on a rough cut cherry board.
Next up was my agonizingly primitive process for “surfacing” my rough-cut cherry lumber. A jointer and planer would have made quick work of the effort, but as I had neither, I punted and did the best I could under the circumstances. (I called a friend of mine to see if I could borrow his planer. Unfortunately, he had recently run some railroad ties through the jointer and claimed it was more of a molder after that task.)

Ripping 2-7/8” wide boards on my jobsite saw.
I started out by forming a square and straight edge on each piece using my track saw again. Then I stepped to my SawStop Jobsite Pro table saw and squared up the opposite edge of each piece. Having determined that my 10” table saw blade could extend 3” above the saw’s surface, I then ripped 2-7/8” wide boards from the wider stock. Standing those boards on edge, I ripped a clean face on each board, then cut those boards to 1-¼" wide. I got it done, but the task was totally devoid of style points and my poor saw complained for a good deal of the process.
With the stock ready to go, I will now take the time to draw the trestle assembly to scale. Once I am happy with the sketch, things should move much more quickly.

“Prepared” stock.